The Cost of Hearing Aid Repairs and Maintenance
Budget for hearing aid repairs and maintenance. Understand typical costs for common issues and how to minimize expenses over time.

Budget for hearing aid repairs and maintenance. Understand typical costs for common issues and how to minimize expenses over time.
The Cost of Hearing Aid Repairs and Maintenance
Let's face it, hearing aids are an investment. You've spent a good chunk of change getting them, and you rely on them daily. But just like any other piece of sophisticated technology, hearing aids aren't a one-and-done purchase. They require ongoing care, and sometimes, repairs. Understanding the potential costs associated with hearing aid repairs and maintenance is crucial for long-term budgeting and ensuring your devices continue to serve you well. Nobody wants to be caught off guard by an unexpected repair bill, especially when your ability to hear clearly is on the line.
In this comprehensive guide, we're going to break down everything you need to know about the costs involved in keeping your hearing aids in tip-top shape. We'll cover common repair scenarios, typical maintenance expenses, how warranties play a role, and even some DIY tips to save you money. Our goal is to empower you with the knowledge to minimize your expenses over time and ensure your hearing aids have a long and productive life.
Understanding Hearing Aid Lifespan and Wear and Tear
First things first, how long should your hearing aids last? On average, a well-maintained hearing aid can last anywhere from three to seven years. Some might even stretch to ten years with exceptional care. However, this lifespan isn't guaranteed. Several factors influence how long your devices will last, including:
- Usage: The more you wear them, the more wear and tear they experience.
- Environment: Exposure to moisture, dust, extreme temperatures, and even pet hair can shorten their life.
- Maintenance Habits: Regular cleaning and proper storage are key to longevity.
- Technology Level: More advanced hearing aids often have more delicate components that might be prone to specific issues.
- Physical Activity: If you lead an active lifestyle, your hearing aids might be exposed to more sweat and accidental bumps.
Over time, components can degrade, wires can fray, and internal circuits can fail. This is where repairs come into play. Knowing what to expect can help you plan financially.
Common Hearing Aid Repair Scenarios and Their Costs
Hearing aids are complex miniature computers, and like any electronic device, they can encounter various issues. Here are some of the most common repair scenarios you might face and an estimate of their associated costs. Keep in mind that these are general ranges, and actual prices can vary significantly based on the brand, model, the extent of the damage, and where you get the repair done.
Battery Door Replacement Costs and Solutions
The battery door is a small but crucial component. It's often made of plastic and can break if handled roughly or if the battery is inserted incorrectly. A broken battery door can prevent the hearing aid from powering on or cause intermittent power issues. Replacing a battery door is usually a relatively minor repair.
- Typical Cost: $25 - $75
- Why it happens: Accidental drops, forceful battery insertion, general wear and tear.
- Prevention: Handle with care, ensure correct battery orientation, avoid forcing the door shut.
Microphone Repair Costs and Troubleshooting
The microphone is responsible for picking up sound from your environment. If it's clogged with debris, damaged by moisture, or simply fails, your hearing aid won't be able to amplify sound effectively. You might notice muffled sound, no sound at all, or intermittent sound.
- Typical Cost: $75 - $200
- Why it happens: Wax buildup, moisture damage, physical impact, component failure.
- Prevention: Regular cleaning with a brush, keeping hearing aids dry, avoiding drops.
Receiver Speaker Replacement Costs and Performance Issues
The receiver, or speaker, is what delivers the amplified sound into your ear. This is one of the most common components to fail, especially in Receiver-In-Canal (RIC) or Behind-The-Ear (BTE) models where the receiver is exposed to earwax and moisture. A failing receiver can lead to distorted sound, weak volume, or complete silence.
- Typical Cost: $100 - $300
- Why it happens: Earwax blockage, moisture damage, physical damage, component fatigue.
- Prevention: Regular wax guard changes (for RICs), thorough cleaning, keeping hearing aids dry.
Tubing and Earmold Repair Costs for BTE Hearing Aids
For BTE hearing aids, the tubing connects the hearing aid to the earmold, which sits in your ear. The tubing can become stiff, discolored, or cracked over time, affecting sound quality. Earmolds can also crack or become ill-fitting. These are generally simpler and less expensive repairs.
- Typical Cost (Tubing): $10 - $30 (often a DIY replacement)
- Typical Cost (Earmold): $50 - $150 (for a new custom earmold)
- Why it happens: UV exposure, general wear, accidental damage, changes in ear shape.
- Prevention: Regular cleaning of tubing, gentle handling of earmolds, replacing tubing every few months.
Internal Circuit Board Repair Costs and Advanced Issues
The circuit board is the brain of your hearing aid, containing all the sophisticated electronics. Damage to the circuit board is often the most expensive repair, as it requires specialized skills and sometimes replacement of the entire board. This can be caused by severe moisture damage, impact, or electrical failure.
- Typical Cost: $200 - $500+ (sometimes approaching the cost of a new device)
- Why it happens: Severe moisture ingress, significant physical impact, electrical short, manufacturing defect.
- Prevention: Keep hearing aids dry, use a dehumidifier, avoid drops, handle with extreme care.
Moisture Damage Repair Costs and Prevention Strategies
Moisture is the arch-nemesis of hearing aids. Sweat, humidity, rain, or even forgetting to take them out before a shower can cause significant internal damage. Moisture can corrode components, short out circuits, and lead to various malfunctions. The cost of repair depends on the extent of the damage.
- Typical Cost: $100 - $400+ (can be very variable)
- Why it happens: Exposure to sweat, rain, high humidity, accidental submersion.
- Prevention: Use a hearing aid dehumidifier or drying kit daily, wipe them down after use, store them in a dry place, remove before showering or swimming.
Hearing Aid Maintenance Expenses Beyond Repairs
Beyond unexpected repairs, there are ongoing maintenance costs that are part and parcel of owning hearing aids. These are usually predictable and essential for optimal performance.
Battery Costs for Hearing Aids Disposable vs Rechargeable
If you have disposable battery hearing aids, you'll have a recurring cost for batteries. The frequency of replacement depends on the battery size, hearing aid usage, and technology level. Rechargeable hearing aids eliminate this ongoing cost, but they come with a higher initial price tag and eventually, the rechargeable battery itself might need replacement (though this is less frequent).
- Disposable Batteries: A pack of 60 batteries (lasting several months for one hearing aid) can cost $15 - $30. Over a year, this can add up to $60 - $120 per hearing aid.
- Rechargeable Battery Replacement: If the internal rechargeable battery needs replacing (typically after 3-5 years), it can cost $50 - $150 per hearing aid.
Wax Guard and Dome Replacement Costs and Importance
For RIC and some ITE hearing aids, wax guards protect the receiver from earwax buildup. Domes are the small, soft tips that sit in your ear canal. Both need regular replacement to ensure clear sound and hygiene.
- Wax Guards: A pack of 8-10 wax guards costs $5 - $15. You might use one every few weeks, so annual cost is around $30 - $60.
- Domes: A pack of 10-20 domes costs $10 - $25. Depending on how often you replace them, annual cost is similar to wax guards.
Cleaning Tools and Dehumidifier Costs for Optimal Care
Proper cleaning tools are essential for daily maintenance. A soft brush, wax pick, and cleaning wipes are standard. A hearing aid dehumidifier or drying kit is highly recommended, especially in humid climates or if you sweat a lot.
- Cleaning Kit: $10 - $30 (one-time purchase, brushes might need replacing)
- Electronic Dehumidifier: $50 - $150 (one-time purchase, but some use desiccant bricks that need replacement)
- Desiccant Drying Jar: $10 - $20 (plus $5 - $10 for desiccant refills every few months)
The Role of Warranties and Service Plans in Cost Management
When you purchase new hearing aids, they almost always come with a manufacturer's warranty. Understanding what this warranty covers is crucial for managing repair costs.
Manufacturer Warranties What They Cover and Exclusions
Most new hearing aids come with a warranty that typically lasts for one to three years. This usually covers manufacturing defects and some internal component failures. However, it's vital to read the fine print:
- What's usually covered: Internal electronic failures, defects in materials or workmanship.
- What's often NOT covered: Accidental damage (e.g., dropping them), water damage (unless specified as waterproof), loss, or damage due to improper handling.
- Deductibles: Some warranties might have a deductible for repairs, even if covered.
Always clarify the warranty terms with your audiologist or provider at the time of purchase.
Extended Warranties and Service Plans Are They Worth It
Many providers offer extended warranties or service plans beyond the manufacturer's warranty. These can be a good investment, especially if you're prone to accidental damage or live an active lifestyle.
- Benefits: Can cover accidental damage, loss (with a deductible), and often include free cleanings, adjustments, and minor repairs.
- Cost: Varies widely, from a few hundred dollars to over a thousand for several years of coverage.
- Consideration: Weigh the cost against your risk factors and the potential cost of out-of-pocket repairs. If you're generally careful, it might not be necessary. If you've had issues with previous devices, it could be peace of mind.
DIY Hearing Aid Maintenance and Minor Troubleshooting Tips
Before rushing to your audiologist for every little issue, there are several things you can do yourself to maintain your hearing aids and troubleshoot minor problems. This can save you both time and money.
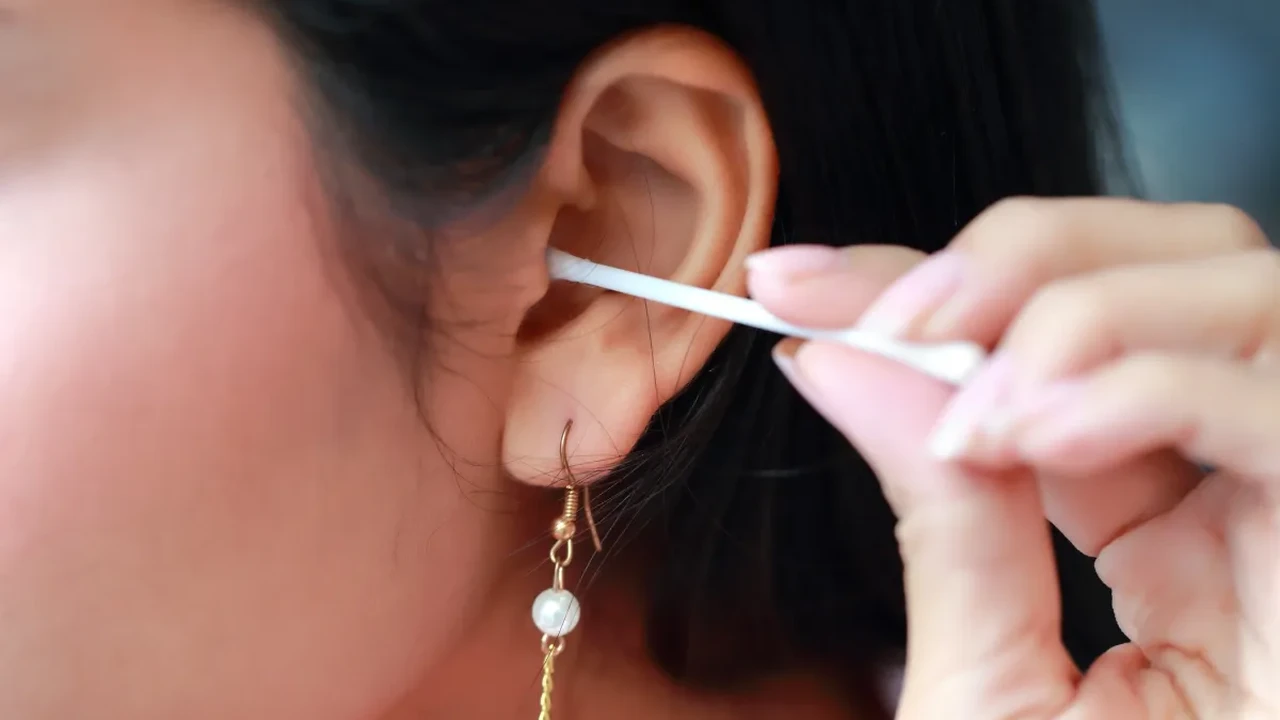
Daily Cleaning Routines for Hearing Aid Longevity
This is the most important step in preventing repairs. A few minutes each day can make a huge difference.
- Wipe Down: Use a soft, dry cloth to wipe down the entire hearing aid, removing any moisture or debris.
- Brush: Use the small brush provided with your hearing aids to gently brush away wax and debris from the microphone ports, receiver, and vents.
- Check Wax Guards/Domes: Inspect these regularly and replace them as needed.
- Dehumidify: Place your hearing aids in a drying kit or electronic dehumidifier overnight.
Troubleshooting Common Hearing Aid Issues at Home
Many common issues can be resolved with simple troubleshooting steps:
- No Sound/Weak Sound: Check the battery (replace if disposable, ensure charged if rechargeable). Check for wax blockage in the receiver or earmold. Ensure the hearing aid is turned on and the volume is up.
- Feedback/Whistling: Ensure the hearing aid is seated properly in your ear. Check for cracks in the tubing or earmold. Make sure the volume isn't too high. Excessive earwax can also cause feedback.
- Intermittent Sound: Check the battery connection. Inspect for visible damage to wires or tubing.
If these steps don't resolve the issue, then it's time to contact your audiologist.
When to Seek Professional Hearing Aid Repair Services
While DIY maintenance is great, there are times when professional intervention is necessary. Don't try to open your hearing aid or attempt complex repairs yourself, as this can void your warranty and cause further damage.
Signs Your Hearing Aid Needs Professional Attention
You should contact your audiologist or hearing aid provider if:
- The troubleshooting steps above don't fix the problem.
- There's visible physical damage (e.g., a cracked casing, broken wire).
- The hearing aid is completely dead and a new battery doesn't help.
- You experience persistent feedback that you can't resolve.
- The sound quality is consistently poor or distorted.
- You suspect internal moisture damage.
Choosing a Reputable Hearing Aid Repair Service
Always go back to the audiologist or clinic where you purchased your hearing aids first. They have your fitting information, can often perform minor repairs in-house, and will handle warranty claims. If that's not possible, look for:
- Certified Technicians: Ensure the repair center employs certified hearing aid technicians.
- Warranty: Ask if they offer a warranty on their repairs.
- Transparent Pricing: Get a clear estimate before any work is done.
- Brand Specialization: Some repair centers specialize in certain brands.
Minimizing Long-Term Hearing Aid Expenses
Beyond understanding the costs, there are proactive steps you can take to minimize your overall expenses related to hearing aid repairs and maintenance.
Investing in Quality Hearing Aid Accessories
Good quality accessories can protect your investment. This includes:
- Drying Kits/Dehumidifiers: Essential for moisture protection.
- Protective Cases: Always store your hearing aids in their case when not in use.
- Cleaning Tools: A good quality brush and wax pick are invaluable.
Regular Audiologist Check-ups and Cleanings
Don't skip your regular check-ups with your audiologist. These appointments are not just for hearing tests; they also include professional cleaning and inspection of your hearing aids. Your audiologist can spot potential issues before they become major problems, perform minor adjustments, and ensure your devices are functioning optimally.
Understanding Your Insurance Coverage for Repairs
Some insurance plans, particularly private ones, might offer some coverage for hearing aid repairs, especially if they cover the initial purchase. Always check with your insurance provider to understand your benefits. Medicare generally does not cover hearing aid repairs, but some Medicare Advantage plans might.
Specific Product Recommendations for Maintenance and Protection
To help you keep your hearing aids in top condition, here are a few product recommendations for maintenance and protection, along with their typical price ranges and use cases.
Electronic Hearing Aid Dryers and Dehumidifiers
These are a must-have for anyone with hearing aids, especially in humid climates or if you sweat a lot. They use gentle heat and/or UV light to remove moisture and kill bacteria.
- Product Example: Dry & Store Global II Hearing Aid Dryer
- Use Case: Daily overnight drying for all types of hearing aids. Essential for preventing moisture damage and extending device life.
- Features: Gentle heat, UV-C light for sanitization, spacious compartment.
- Typical Price: $70 - $100
- Comparison: More effective and convenient than simple desiccant jars, though more expensive upfront. The UV light adds a sanitization benefit.
- Product Example: PerfectDry Lux Hearing Aid Dryer
- Use Case: Compact and fast drying, ideal for travel or daily use.
- Features: Fast drying cycle (30-45 minutes), UV-C light, small footprint.
- Typical Price: $50 - $80
- Comparison: Often smaller and quicker than the Dry & Store, making it great for those who need a faster turnaround or have limited space.
Hearing Aid Cleaning Kits and Tools
Having the right tools makes daily cleaning much easier and more effective.
- Product Example: Jodi-Vac Hearing Aid Vacuum Cleaner
- Use Case: For thorough removal of wax and debris from microphone ports, vents, and receivers.
- Features: Small, powerful vacuum with various tips for precise cleaning.
- Typical Price: $100 - $150
- Comparison: A more advanced tool than just a brush, ideal for those who experience frequent wax buildup or want a deeper clean. It's an investment but can prevent costly repairs.
- Product Example: Standard Hearing Aid Cleaning Kit (e.g., from Phonak, Oticon, or generic brands)
- Use Case: Daily manual cleaning for all hearing aid types.
- Features: Includes a brush, wax loop/pick, vent cleaner, and sometimes a battery magnet.
- Typical Price: $10 - $25
- Comparison: Essential and affordable. While not as powerful as a vacuum, it's crucial for daily surface cleaning and preventing buildup.
Wax Guards and Domes
These are consumable items that need regular replacement to maintain sound quality and hygiene.
- Product Example: CeruStop Wax Guards (compatible with many brands like Phonak, Unitron)
- Use Case: Protecting the receiver from earwax in RIC and some ITE hearing aids.
- Features: Small, disposable filters that prevent wax from entering the receiver.
- Typical Price: $5 - $15 for a pack of 8-10.
- Comparison: Brand-specific, so ensure you get the correct type for your hearing aids. Regular replacement is non-negotiable for clear sound.
- Product Example: Various Sized Domes (e.g., open, closed, power domes from different manufacturers)
- Use Case: Providing a comfortable and acoustically appropriate fit for RIC hearing aids.
- Features: Soft, silicone tips that come in different shapes and sizes to suit individual ear canals and hearing loss types.
- Typical Price: $10 - $25 for a pack of 10-20.
- Comparison: Crucial for comfort and sound delivery. Your audiologist will recommend the correct type and size.
By understanding the potential costs, taking proactive maintenance steps, and knowing when to seek professional help, you can significantly extend the life of your hearing aids and ensure they continue to provide you with the clear hearing you deserve. Think of it as caring for a valuable tool – a little effort goes a long way in protecting your investment and your ability to connect with the world around you.
:max_bytes(150000):strip_icc()/277019-baked-pork-chops-with-cream-of-mushroom-soup-DDMFS-beauty-4x3-BG-7505-5762b731cf30447d9cbbbbbf387beafa.jpg)