Cleaning Your Hearing Aids A Step By Step Guide
Follow this step-by-step guide to effectively clean your hearing aids. Proper cleaning ensures optimal performance and extends device lifespan.
Follow this step-by-step guide to effectively clean your hearing aids. Proper cleaning ensures optimal performance and extends device lifespan.
Cleaning Your Hearing Aids A Step By Step Guide
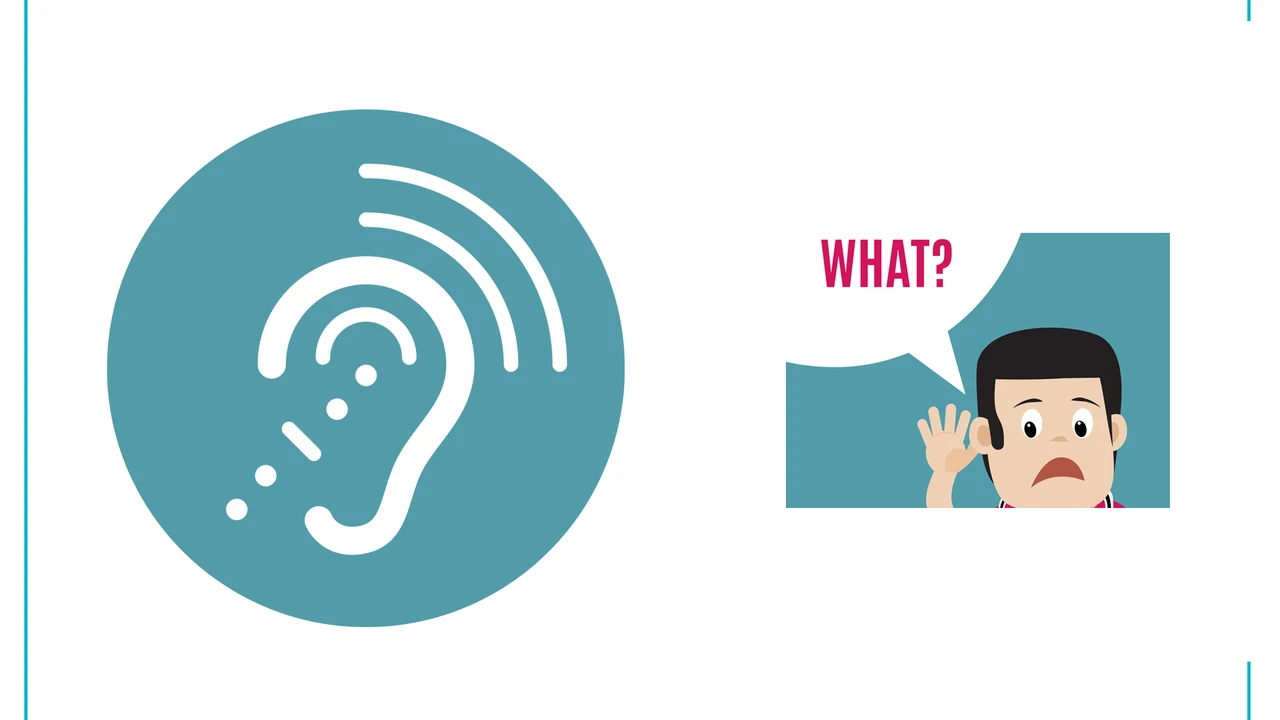
Hey there! So, you've got hearing aids, and that's fantastic for your hearing health. But just like any other piece of tech you rely on daily, they need a little TLC to keep them working their best. We're talking about cleaning them regularly. It might seem like a chore, but trust me, a few minutes each day can make a huge difference in how well your hearing aids perform, how long they last, and even how comfortable they feel. Neglecting cleaning can lead to all sorts of issues, from muffled sound and feedback to costly repairs or even needing to replace them sooner than you'd like. So, let's dive into a comprehensive, step-by-step guide to keeping your hearing aids sparkling clean and functioning perfectly.
Why Regular Hearing Aid Cleaning is Crucial for Performance and Longevity
You might be wondering, 'Is it really that big of a deal?' Absolutely! Think about it: your hearing aids spend hours every day nestled in or behind your ears, exposed to earwax, moisture, skin oils, and even dust and debris from the environment. Over time, these elements can build up and wreak havoc on the delicate components of your device. Earwax, in particular, is a common culprit for blockages in the sound port or microphone, leading to reduced sound quality or even complete silence. Moisture can corrode internal electronics, and skin oils can clog tiny openings. Regular cleaning isn't just about hygiene; it's about maintaining the intricate technology that helps you hear the world around you. It prevents breakdowns, ensures consistent sound quality, and ultimately saves you money in the long run by extending the life of your investment. Plus, clean hearing aids are simply more comfortable to wear and less likely to cause irritation.
Essential Hearing Aid Cleaning Tools What You Need
Before we get our hands dirty (or rather, clean!), let's gather our arsenal of cleaning tools. You don't need anything fancy, and most of these items are readily available, often coming with your hearing aids or easily purchased online or from your audiologist. Here's your checklist:
- Soft, Dry Cloth: A microfiber cloth is ideal. Avoid abrasive materials that could scratch the hearing aid's surface.
- Wax Pick or Wire Loop: This tiny tool is specifically designed to gently remove earwax from small openings.
- Small Brush: Often provided with your hearing aids, this brush helps dislodge debris from microphones and vents.
- Vent Cleaner: A thin, flexible wire or tool used to clear blockages in the hearing aid's vent.
- Battery Door Opener/Magnet Tool (if applicable): Some hearing aids come with a tool to help open the battery door, which can also be useful for cleaning around that area.
- Hearing Aid Cleaning Wipes or Spray (optional, but recommended): These are specially formulated to clean and disinfect hearing aids without damaging them. Always check with your audiologist before using any liquids.
- Hearing Aid Dryer/Dehumidifier (optional, but highly recommended): Especially if you live in a humid climate or sweat a lot, a dryer can significantly extend the life of your hearing aids by removing moisture.
Important Note: Never use water, alcohol, household cleaners, or harsh chemicals to clean your hearing aids. These can cause irreversible damage to the delicate electronics.
Daily Hearing Aid Cleaning Routine Quick and Easy Steps
Making cleaning a part of your daily routine is the best way to prevent major issues. This quick clean-up should take no more than a couple of minutes each evening:
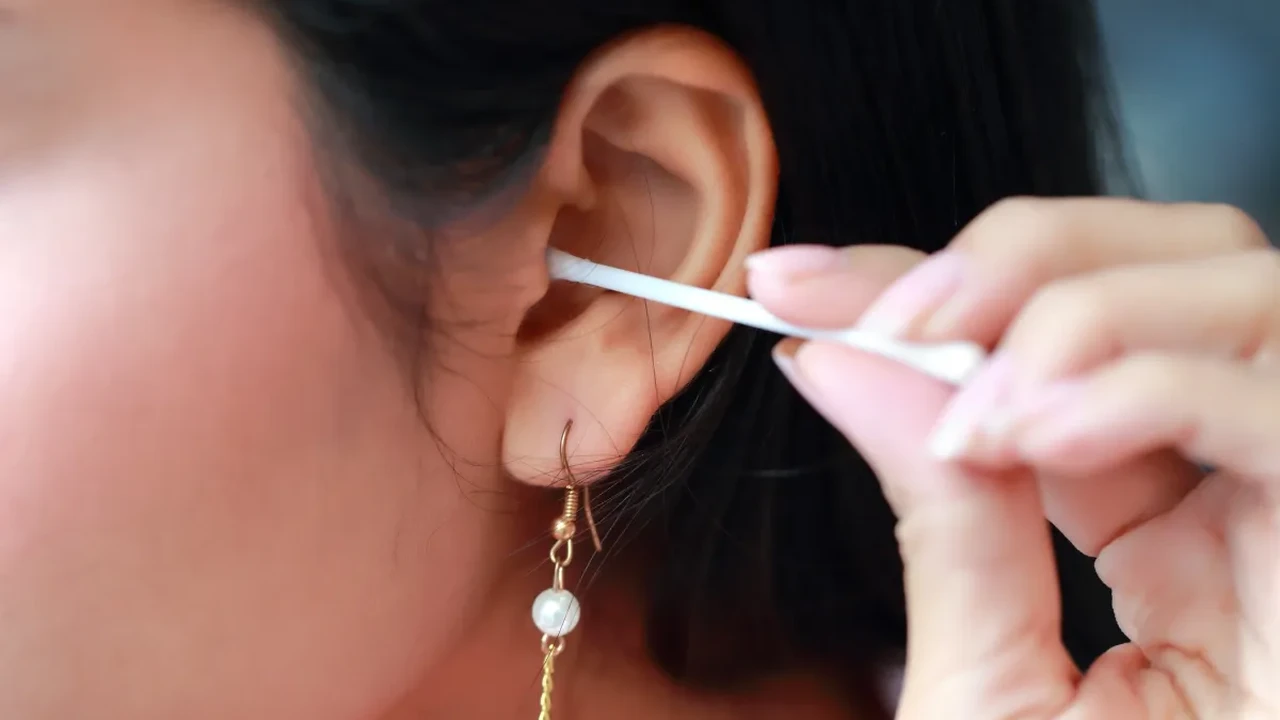
- Wash Your Hands: Always start with clean, dry hands to avoid transferring dirt or oils to your hearing aids.
- Inspect Your Hearing Aids: Hold your hearing aid over a soft surface (like a towel) to prevent damage if you drop it. Visually inspect it for any visible earwax, debris, or moisture.
- Wipe Down the Surface: Use your soft, dry cloth to gently wipe the entire surface of the hearing aid. This removes skin oils, dust, and any superficial grime.
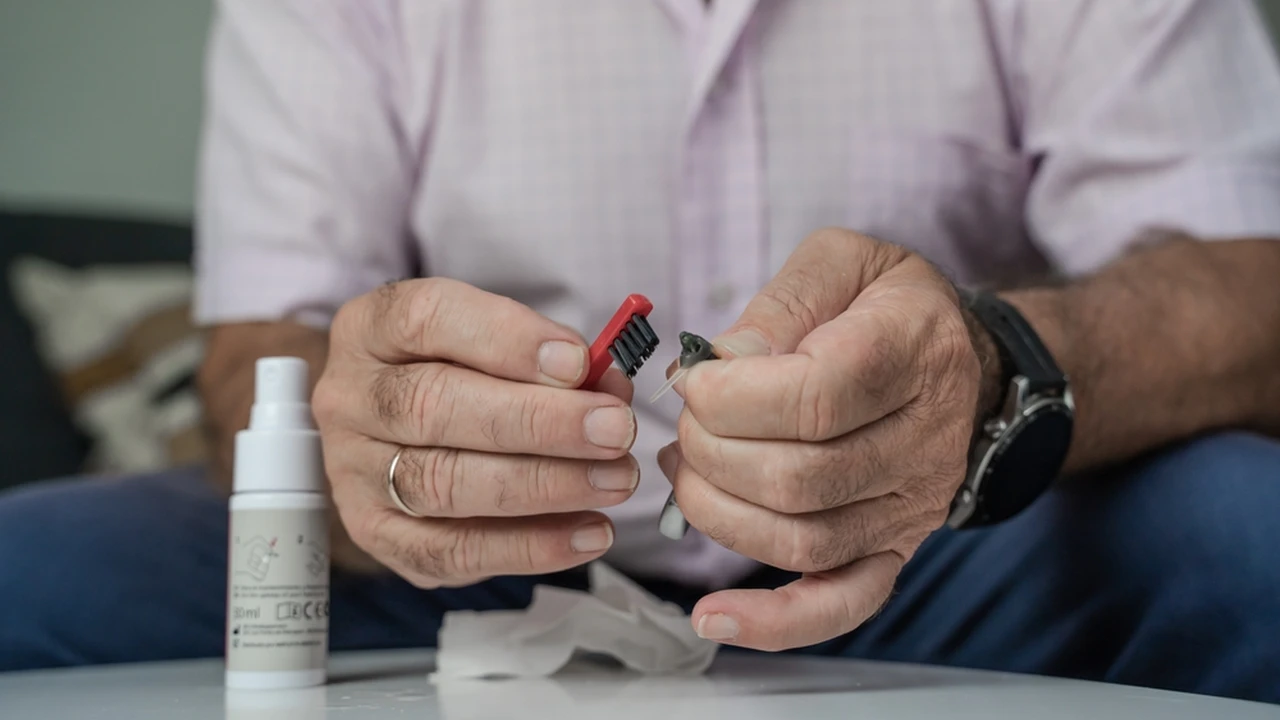
- Brush Away Debris: Use the small brush to gently brush around the microphone ports, sound outlet, and any vents. Be careful not to push debris further into the openings.
- Check for Wax Buildup: Pay close attention to the sound outlet (where the sound comes out) and the microphone ports. If you see earwax, proceed to the next steps for specific hearing aid types.
- Open Battery Door (if applicable): If your hearing aid uses disposable batteries, open the battery door overnight to allow air circulation and prevent moisture buildup. This also helps conserve battery life.
In-Depth Cleaning for Different Hearing Aid Styles BTE, RIC, ITE, ITC, CIC
While the daily routine is similar, each hearing aid style has specific areas that require extra attention due to their design. Let's break it down:
Behind-The-Ear (BTE) Hearing Aids Cleaning Tips
BTE hearing aids have the main unit behind the ear and a tube connecting to an earmold or dome in the ear canal. The tube and earmold are often the primary areas for wax buildup.
- Disconnect the Earmold/Dome: Gently twist and pull the tubing to detach the earmold or dome from the main BTE unit.
- Clean the Earmold/Dome:
- For Domes: Use your small brush to clear any wax from the dome's openings. If it's very waxy, you might need to replace it (they're usually disposable and inexpensive).
- For Earmolds: Use the wax pick or wire loop to carefully remove any earwax from the sound bore (the hole that goes into your ear) and the vent. You can also use the small brush. If the earmold is very dirty, you can wash it in warm, soapy water (mild dish soap is fine), but ONLY if it's completely detached from the BTE unit. Make sure it's thoroughly dry before reattaching – use an air blower or let it air dry overnight. Never reattach a damp earmold.
- Clean the Tubing: Check the tubing for moisture or condensation. If present, you can use an air blower to push it out. If the tubing is discolored or stiff, it might be time to replace it (your audiologist can help with this).
- Clean the BTE Unit: Use your soft cloth to wipe down the main unit. Use the small brush to clean around the microphone ports and controls.
- Reassemble: Once all parts are clean and dry, carefully reattach the earmold/dome to the BTE unit.
Receiver-In-Canal (RIC) Hearing Aids Cleaning Tips
RIC hearing aids have the receiver (speaker) located in the ear canal, connected by a thin wire to the main unit behind the ear. The receiver and its dome are prone to wax buildup.
- Wipe Down the Main Unit: Use your soft cloth to clean the main unit behind the ear. Use the brush for microphone ports.
- Clean the Receiver Wire: Gently wipe the thin wire with your soft cloth.
- Clean the Dome/Custom Earmold:
- For Domes: These are usually disposable. Use the brush to clear any wax. If heavily soiled, replace it.
- For Custom Earmolds (with integrated receiver): Use the wax pick or brush to clear the sound outlet and vent. Do NOT detach the receiver from the earmold or immerse it in water.
- Check the Wax Guard: This is crucial for RICs. The wax guard is a tiny filter at the end of the receiver that prevents wax from entering the speaker. If the sound is muffled or absent, the wax guard is likely blocked. Your audiologist will provide you with replacement wax guards and show you how to change them. It's a simple process: use the tool to remove the old guard and insert a new one.
In-The-Ear (ITE), In-The-Canal (ITC), and Completely-In-Canal (CIC) Hearing Aids Cleaning Tips
These custom-made hearing aids fit partially or entirely within the ear canal. They are particularly susceptible to earwax and moisture due to their deep placement.
- Wipe Down the Shell: Use your soft, dry cloth to wipe the entire outer surface of the hearing aid.
- Brush the Sound Port and Microphone: Use the small brush to gently clear any wax or debris from the sound port (where sound exits) and the microphone opening(s).
- Clear the Vent: Many ITE/ITC/CIC aids have a small vent hole. Use the vent cleaner (a thin wire) to carefully push through the vent to clear any blockages. Be gentle!
- Check the Wax Guard/Filter: Similar to RICs, many ITE/ITC/CIC hearing aids have a wax guard or filter at the sound port. If sound is muffled, this is often the culprit. Use the provided tool to replace the wax guard as instructed by your audiologist.
- Clean the Battery Door: If applicable, use the brush to clean around the battery door opening.
Advanced Cleaning and Maintenance Tips for Optimal Hearing Aid Care
Beyond the daily routine, a few extra steps can ensure your hearing aids remain in top condition:
Using a Hearing Aid Dehumidifier or Dryer for Moisture Control
Moisture is the silent killer of hearing aids. Sweat, humidity, and even condensation from temperature changes can damage the delicate electronics. A hearing aid dryer or dehumidifier is an excellent investment, especially if you live in a humid climate, exercise frequently, or tend to sweat a lot. There are two main types:
- Desiccant Dryers: These use a drying agent (like silica gel) to absorb moisture. You place your hearing aids in a container with the desiccant overnight. The desiccant needs to be replaced or recharged periodically.
- Electronic Dryers (UV-C Light): These use gentle heat and/or UV-C light. The heat helps evaporate moisture, while the UV-C light can kill bacteria and germs, offering an extra layer of hygiene. You simply place your hearing aids in the unit overnight.
Recommendation: For most users, an electronic dryer with UV-C light offers the best all-around solution for moisture removal and sanitization. Brands like Dry & Store, PerfectDry Lux, and Serene Innovations Renew are popular and reliable choices. Prices typically range from $50 to $150.
When to Replace Domes, Wax Guards, and Tubing for Clear Sound
These small, replaceable parts are crucial for sound quality and hygiene. Knowing when to change them is key:
- Domes: These soft, silicone tips should be replaced every 2-4 weeks, or sooner if they become stiff, discolored, or damaged. They are inexpensive and come in various sizes.
- Wax Guards/Filters: These tiny filters should be replaced every 1-3 months, or immediately if you notice a significant drop in sound quality or complete blockage. Your audiologist will show you how to do this. Brands like CeruShield, ProWax, and HF4 are common, depending on your hearing aid manufacturer.
- Tubing (for BTEs): The clear plastic tubing on BTE hearing aids can become stiff, discolored, or brittle over time, usually every 6-12 months. This can affect sound transmission. Your audiologist can easily replace the tubing for you.
Professional Cleaning and Maintenance The Audiologist's Role
While daily cleaning is essential, it doesn't replace professional care. Your audiologist plays a vital role in maintaining your hearing aids:
- Deep Cleaning: They have specialized tools and solutions to perform a thorough deep clean, reaching areas you can't access at home.
- Component Checks: They can check for wear and tear on internal components, wires, and connections.
- Repairs: If a part is broken or malfunctioning, they can often perform minor repairs in-office or send the device for more extensive service.
- Adjustments: They can fine-tune your hearing aid settings to ensure optimal performance as your hearing needs change.
It's generally recommended to have your hearing aids professionally cleaned and checked every 3-6 months, or as advised by your audiologist.
Troubleshooting Common Hearing Aid Cleaning Issues and Solutions
Even with regular cleaning, you might encounter some issues. Here's how to troubleshoot them:
Muffled Sound or No Sound After Cleaning What to Check
- Blocked Wax Guard/Filter: This is the most common culprit. Replace the wax guard.
- Blocked Sound Port/Tube: Re-check for any remaining earwax or debris in the sound outlet or tubing. Use your wax pick or vent cleaner carefully.
- Dead Battery: It might sound obvious, but sometimes it's just a dead battery! Try replacing it.
- Moisture: If you've recently been in a humid environment or sweated a lot, moisture might be affecting the device. Use a hearing aid dryer.
- Incorrect Program Setting: Ensure your hearing aid is on the correct program setting for your environment.
Dealing with Persistent Feedback or Whistling After Cleaning
- Improper Fit: If your hearing aid isn't sitting snugly in your ear, sound can leak out and be picked up by the microphone, causing feedback. Reinsert it properly.
- Earwax Buildup in Ear Canal: Sometimes, it's not the hearing aid, but earwax in your own ear canal that's causing a blockage and reflecting sound back. Consult your doctor for earwax removal.
- Cracked Tubing or Earmold (BTEs): Inspect the tubing and earmold for any cracks or damage that could allow sound to escape. Replace if necessary.
- Volume Too High: If the volume is set too high, it can sometimes cause feedback. Try lowering it slightly.
- Malfunctioning Component: If none of the above work, there might be an internal issue. Contact your audiologist.
Preventing Moisture Damage and Corrosion in Hearing Aids
- Use a Dehumidifier Daily: As mentioned, this is your best defense against moisture.
- Remove Before Showering/Swimming: Always take your hearing aids out before any water activities.
- Wipe Down After Sweating: If you exercise or sweat, wipe your hearing aids thoroughly with a dry cloth immediately afterward.
- Store in a Dry Place: Avoid leaving them in the bathroom or other humid areas.
- Open Battery Doors Overnight: This allows air to circulate and helps dry out the battery compartment.
Recommended Cleaning Products and Accessories for Hearing Aids
While many hearing aid manufacturers provide basic cleaning tools, investing in a few quality accessories can make your cleaning routine more effective and convenient. Here are some top picks, along with their approximate price ranges:
Top Hearing Aid Cleaning Kits and Tools
- Phonak Cleaning and Care Kit: This comprehensive kit often includes a brush, wax pick, vent cleaner, and cleaning wipes. It's designed specifically for Phonak aids but many tools are universal. Price: $15-$30
- Oticon Cleaning Kit: Similar to Phonak, Oticon offers kits with brushes, wax loops, and sometimes cleaning sprays. Good for general maintenance. Price: $15-$30
- Jodi-Vac Hearing Aid Vacuum Cleaner: For those who want a more powerful solution, a mini vacuum cleaner can effectively suck out stubborn wax and debris from tiny ports. This is a more advanced tool. Price: $100-$200
- Generic Hearing Aid Cleaning Brush and Wax Loop Set: You can find these on Amazon or at pharmacies. Look for sets with various brush sizes and a sturdy wax loop. Price: $5-$15
Best Hearing Aid Dehumidifiers and Dryers
- Dry & Store Global II: A highly regarded electronic dryer that uses warm, circulating air and a desiccant brick to remove moisture. It's effective and reliable. Price: $100-$150
- PerfectDry Lux: A compact and user-friendly electronic dryer with UV-C light for sanitization. It's popular for its ease of use and effectiveness. Price: $70-$100
- Serene Innovations Renew Hearing Aid Dryer & Freshener: Another excellent electronic dryer with UV-C light. It's known for its quiet operation and efficient drying cycle. Price: $80-$120
- Zephyr by Dry & Store: A smaller, more portable electronic dryer without the desiccant, relying solely on warm air. Good for travel. Price: $50-$80
Specialized Cleaning Wipes and Sprays for Hearing Aids
- Miracle-Ear Cleaning Wipes: Pre-moistened wipes specifically formulated to clean and disinfect hearing aids without damaging them. Convenient for daily use. Price: $10-$20 for a pack
- Hal-Hen Super Dri-Aid: A desiccant-based drying jar. You place your hearing aids in the jar with the desiccant pellets overnight. A more budget-friendly option than electronic dryers. Price: $10-$20
- Audinell Cleaning Spray: A gentle spray designed to clean and disinfect earmolds and hearing aid surfaces. Always spray onto a cloth, not directly onto the hearing aid. Price: $15-$25
Comparing Cleaning Products and Their Suitability for Different Users
When choosing cleaning products, consider your lifestyle, hearing aid type, and budget:
- For the Everyday User (BTE/RIC/ITE/ITC/CIC): A basic cleaning kit (brush, wax pick) and a soft cloth are essential. Adding a good electronic dryer like the PerfectDry Lux or Serene Renew is highly recommended for moisture control and hygiene. These are suitable for all hearing aid types.
- For Users with Heavy Wax Buildup (especially ITE/ITC/CIC): In addition to the basic kit, consider a more robust wax removal tool or even the Jodi-Vac if recommended by your audiologist. Regular wax guard changes are paramount.
- For Active Individuals or Humid Climates: An electronic dryer is almost a necessity. The Dry & Store Global II or PerfectDry Lux will be invaluable in preventing moisture-related issues.
- For Budget-Conscious Users: A basic brush/pick set and a desiccant drying jar like Hal-Hen Super Dri-Aid can provide adequate care without a large upfront investment. However, an electronic dryer is a worthwhile long-term investment.
- For Travel: Compact electronic dryers like the Zephyr by Dry & Store or small desiccant jars are great for on-the-go maintenance.
Always consult with your audiologist about the best cleaning products and routine for your specific hearing aids. They can provide personalized recommendations and demonstrate proper cleaning techniques.
Final Thoughts on Hearing Aid Care and Maintenance
Taking good care of your hearing aids isn't just about keeping them clean; it's about protecting your investment and ensuring you get the best possible hearing experience every single day. A consistent cleaning routine, combined with regular professional check-ups, will significantly extend the life of your devices, maintain optimal sound quality, and prevent frustrating breakdowns. Remember, these tiny marvels of technology are working hard for you, so give them the care they deserve. Happy hearing!
:max_bytes(150000):strip_icc()/277019-baked-pork-chops-with-cream-of-mushroom-soup-DDMFS-beauty-4x3-BG-7505-5762b731cf30447d9cbbbbbf387beafa.jpg)